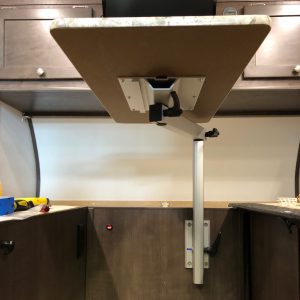
The table leg was one of the things I was just living with. Thanks to a post on Facebook I came across the Lagun Table Leg. Easy install and much more practical and comfortable.
The floor repair was a bit challenging. The worst part was trimming the floor covering back to level as it was bulged up around the screws that were holding the old one.
Razor blade did the trick but now I had little white rings around the screw-holes.
I ended up pushing some regular white glue into the holes. Left a weight on the area near the holes overnight and then used the plastic-wood sticks to mix up a suitable color from chips and pressed it into the floor to cover.
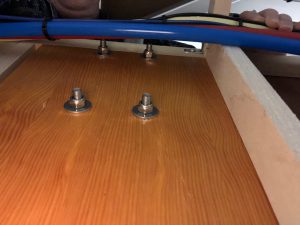
Backing plate is 3/4 inch plywood.
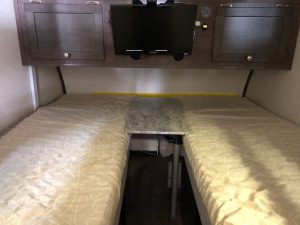
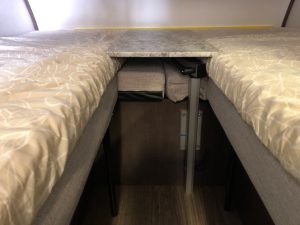
New travel position:
Adding some views of the rear. The 1/4 inch original panel is stapled all around, from the factory. If the staples aren’t enough it’ll be easy enough to add some dark coloured flat head screws.
I did not use the backing plate that came with the table leg kit but instead used 3/4 inch plywood that filled the whole area as the backing plate. Corner brackets add additional tie-in and the Tee bracket in combination with an angle bracket serves to prevent kick-out. The more weight is placed on the table, the more it will tend to want to kick that corner out, hence the extra attention in that lower corner.
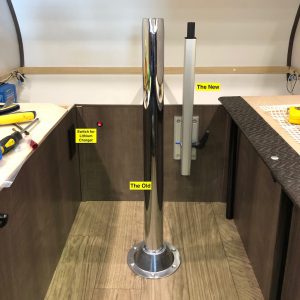
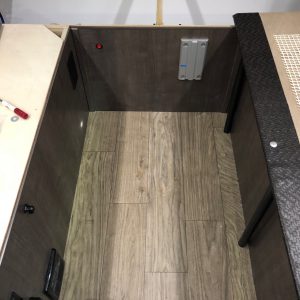
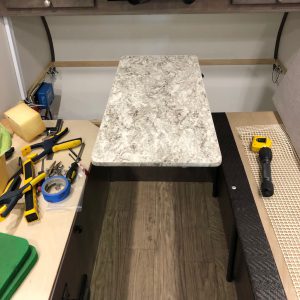
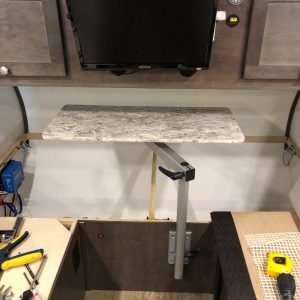
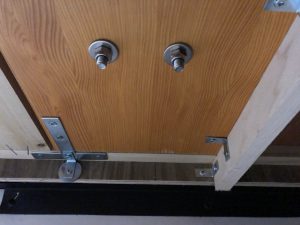
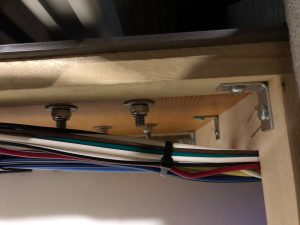
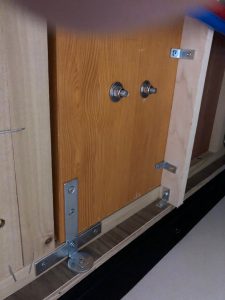
I’ll see if I have some before pics and will also take a closer look at my work 🙂
Had a closer look… my 1/4 inch panel is stapled all around. My backup plan is to add some flat-head screws should the panel loosen. Updated the main blog with some additional pics of the rear view.
HI MY panel where the Lagun will attach was not even attached to the 1 by 2 at the bottom , did you reinforce the structure ? also did you anchor the 3/4″ plywood to the barces for support? could not tell from the pics.
Thanks
Dale